IKEA frames have become a bit of a secret weapon for DIY enthusiasts who love the look of classic cinema or marquee lightboxes. Their clean lines, lightweight construction, and wide range of sizes make them surprisingly well‑suited for transforming into illuminated displays where you can slide in interchangeable letter cards — very much like the glowing signs outside old movie theaters.
What makes IKEA frames particularly appealing is their variety. Whether someone prefers a compact, desk‑friendly lightbox or a bold, wall‑mounted statement piece, there’s almost always a frame size that fits the vision. Some frames are deep enough to house LED strips and a diffuser panel without any complicated modifications, while others offer generous front‑surface dimensions that give plenty of room for creative layouts. Because the frames are standardized, it’s easy to plan around them: you know exactly how much space you have for the light source, the letter tracks, and any decorative touches.
This flexibility opens the door to highly personal designs. One person might build a minimalist white lightbox that blends into a Scandinavian‑style living room. Another might choose a larger frame and turn it into a bold, retro‑inspired marquee with warm lighting and oversized lettering. The frame becomes the foundation, but the final look is entirely up to the maker.
The charm of using IKEA frames lies in that combination of accessibility and customization. They’re affordable, easy to work with, and available almost everywhere. And because they come in so many shapes and proportions, anyone can craft a lightbox that feels unique — whether it’s meant for inspirational quotes, party décor, or simply adding a bit of cinematic flair to your room.
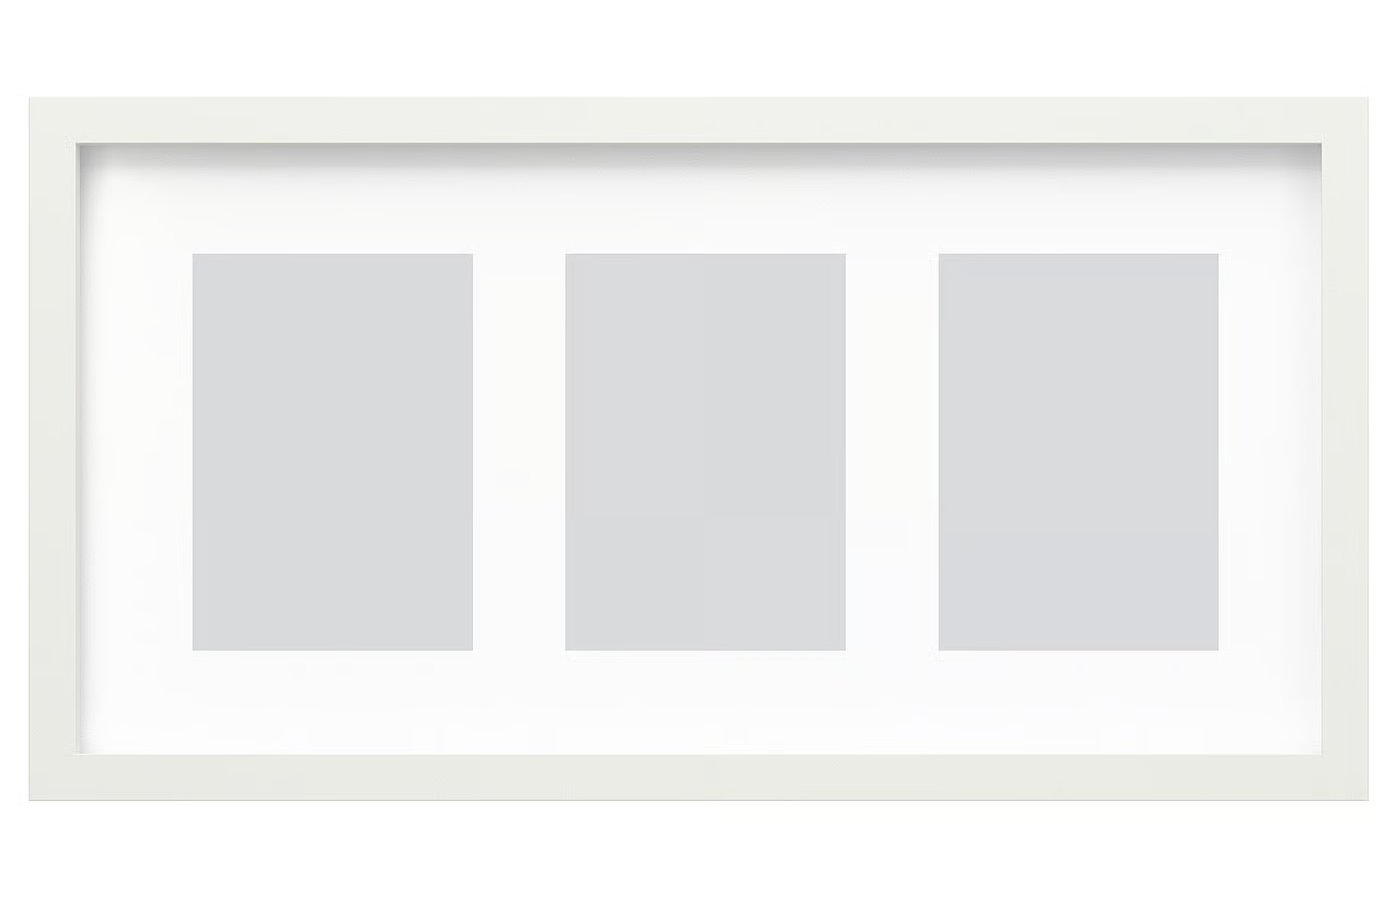
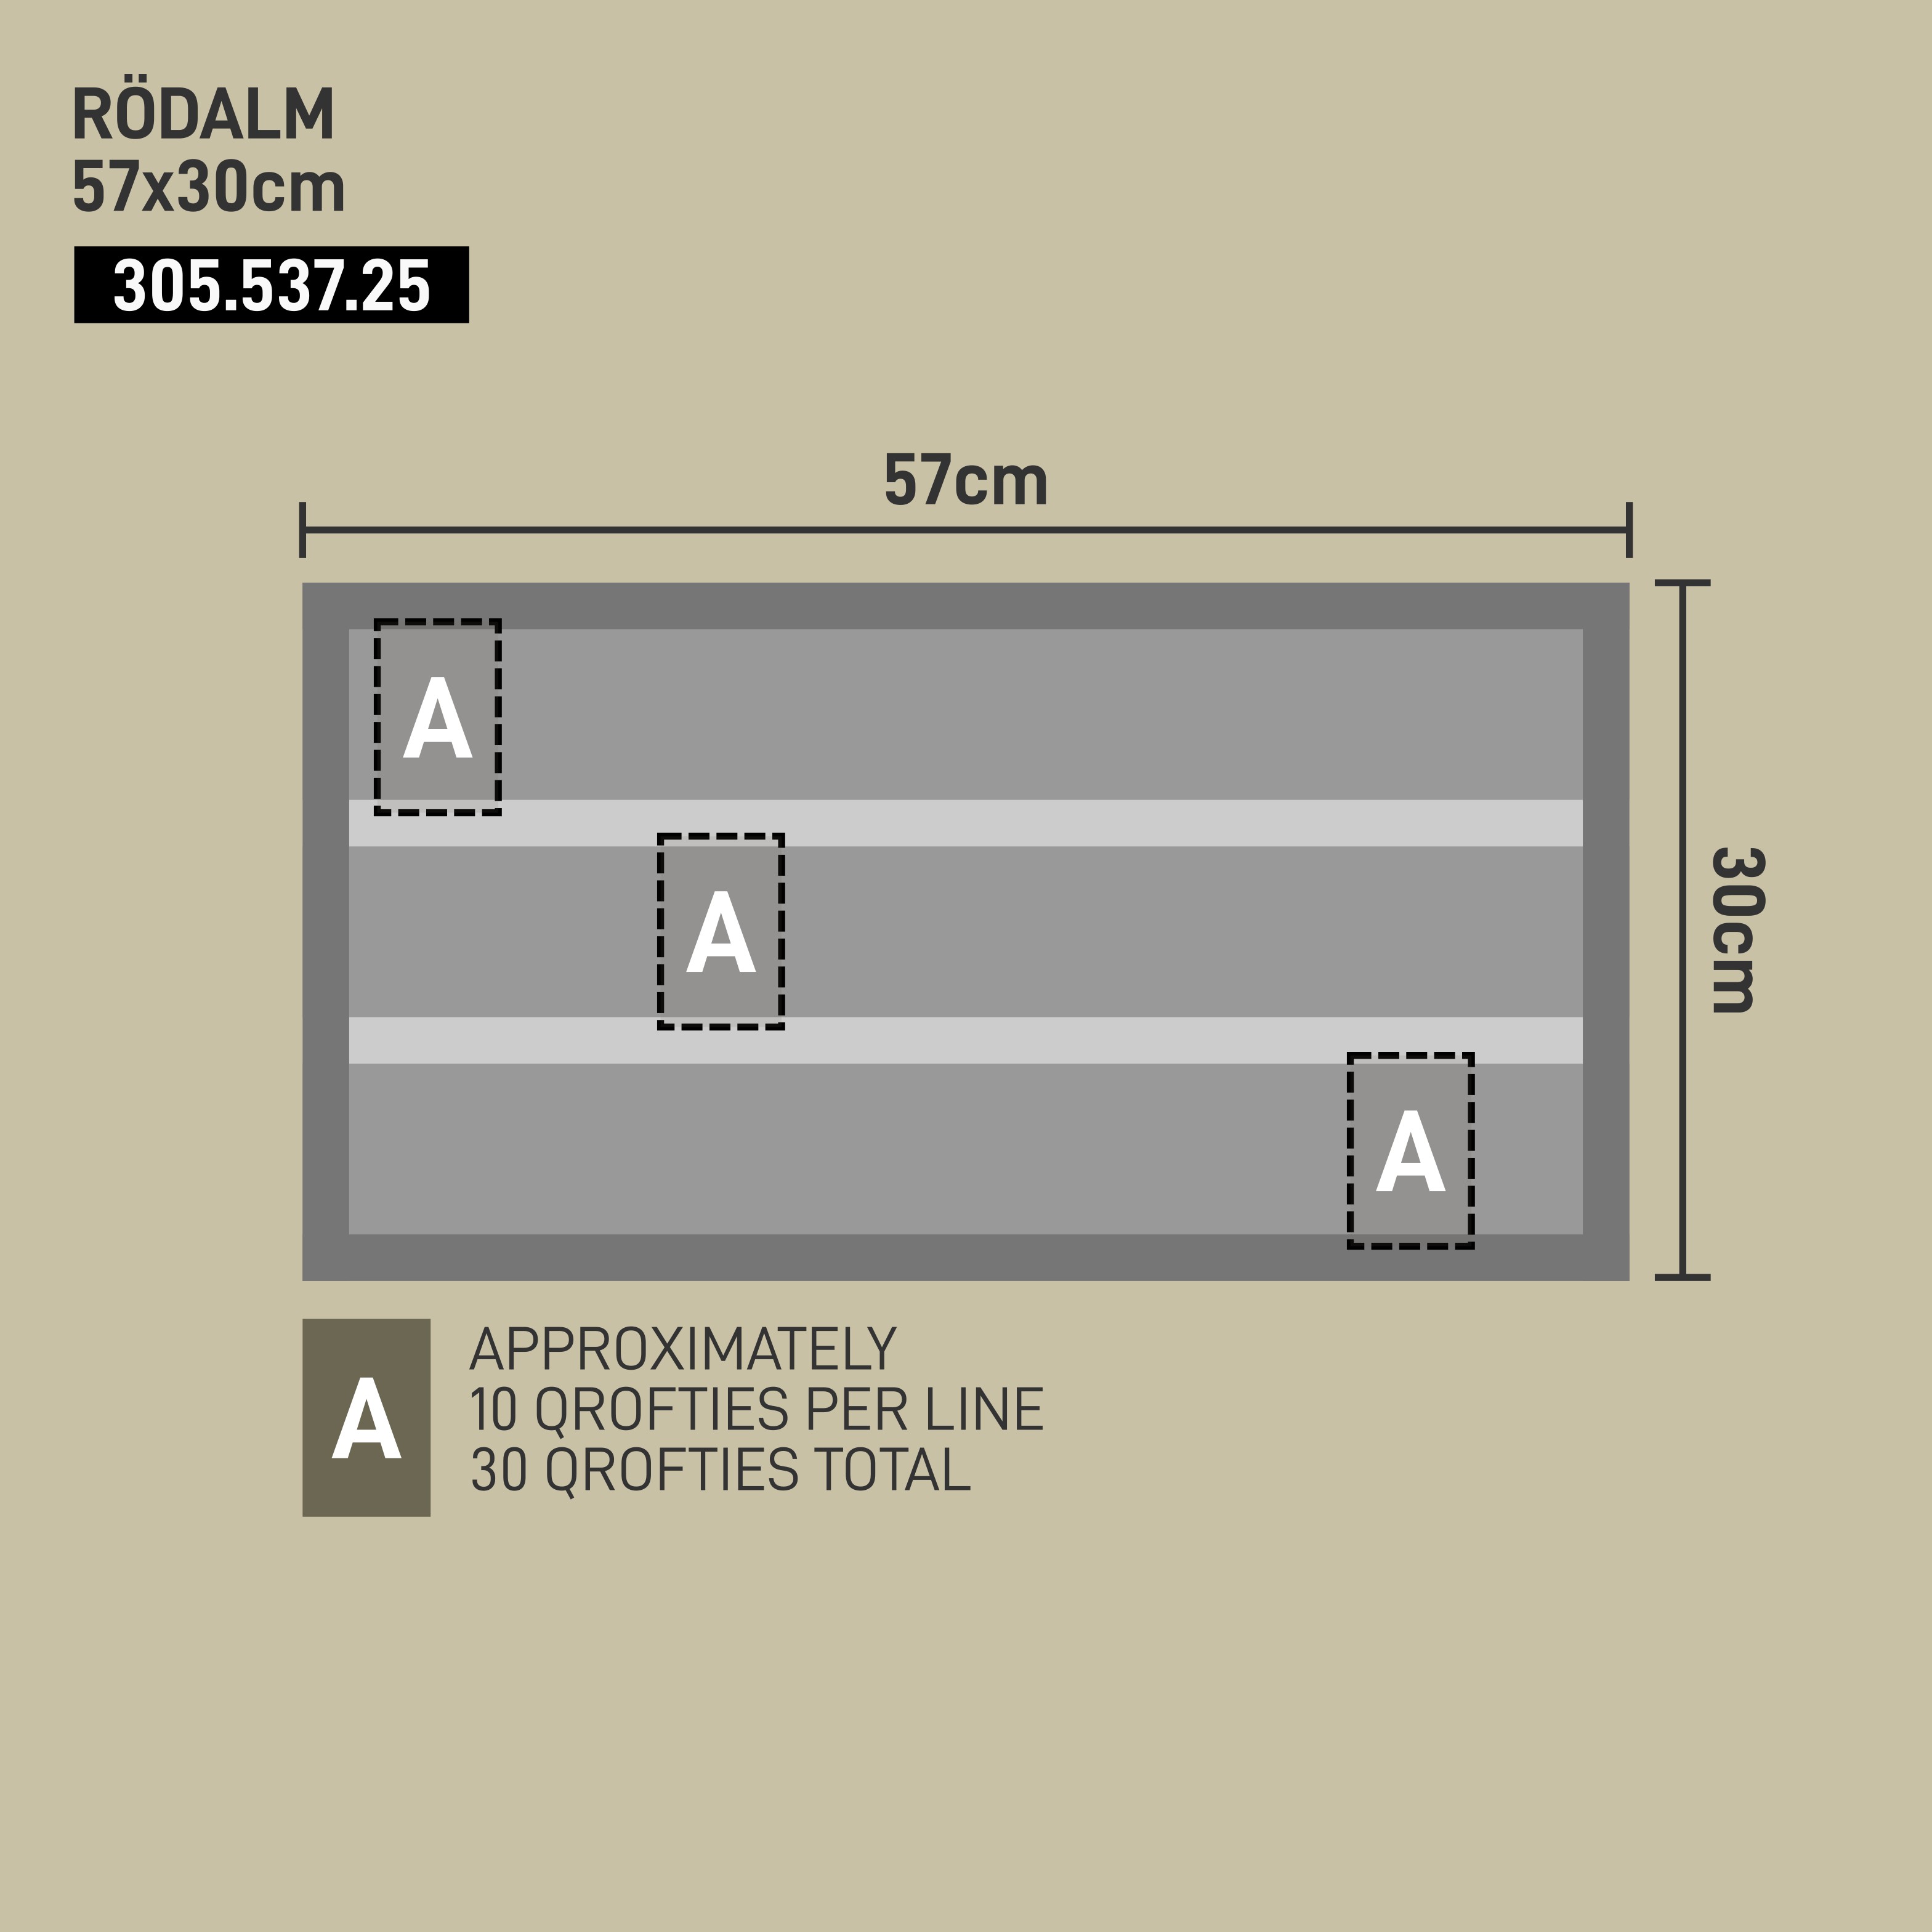
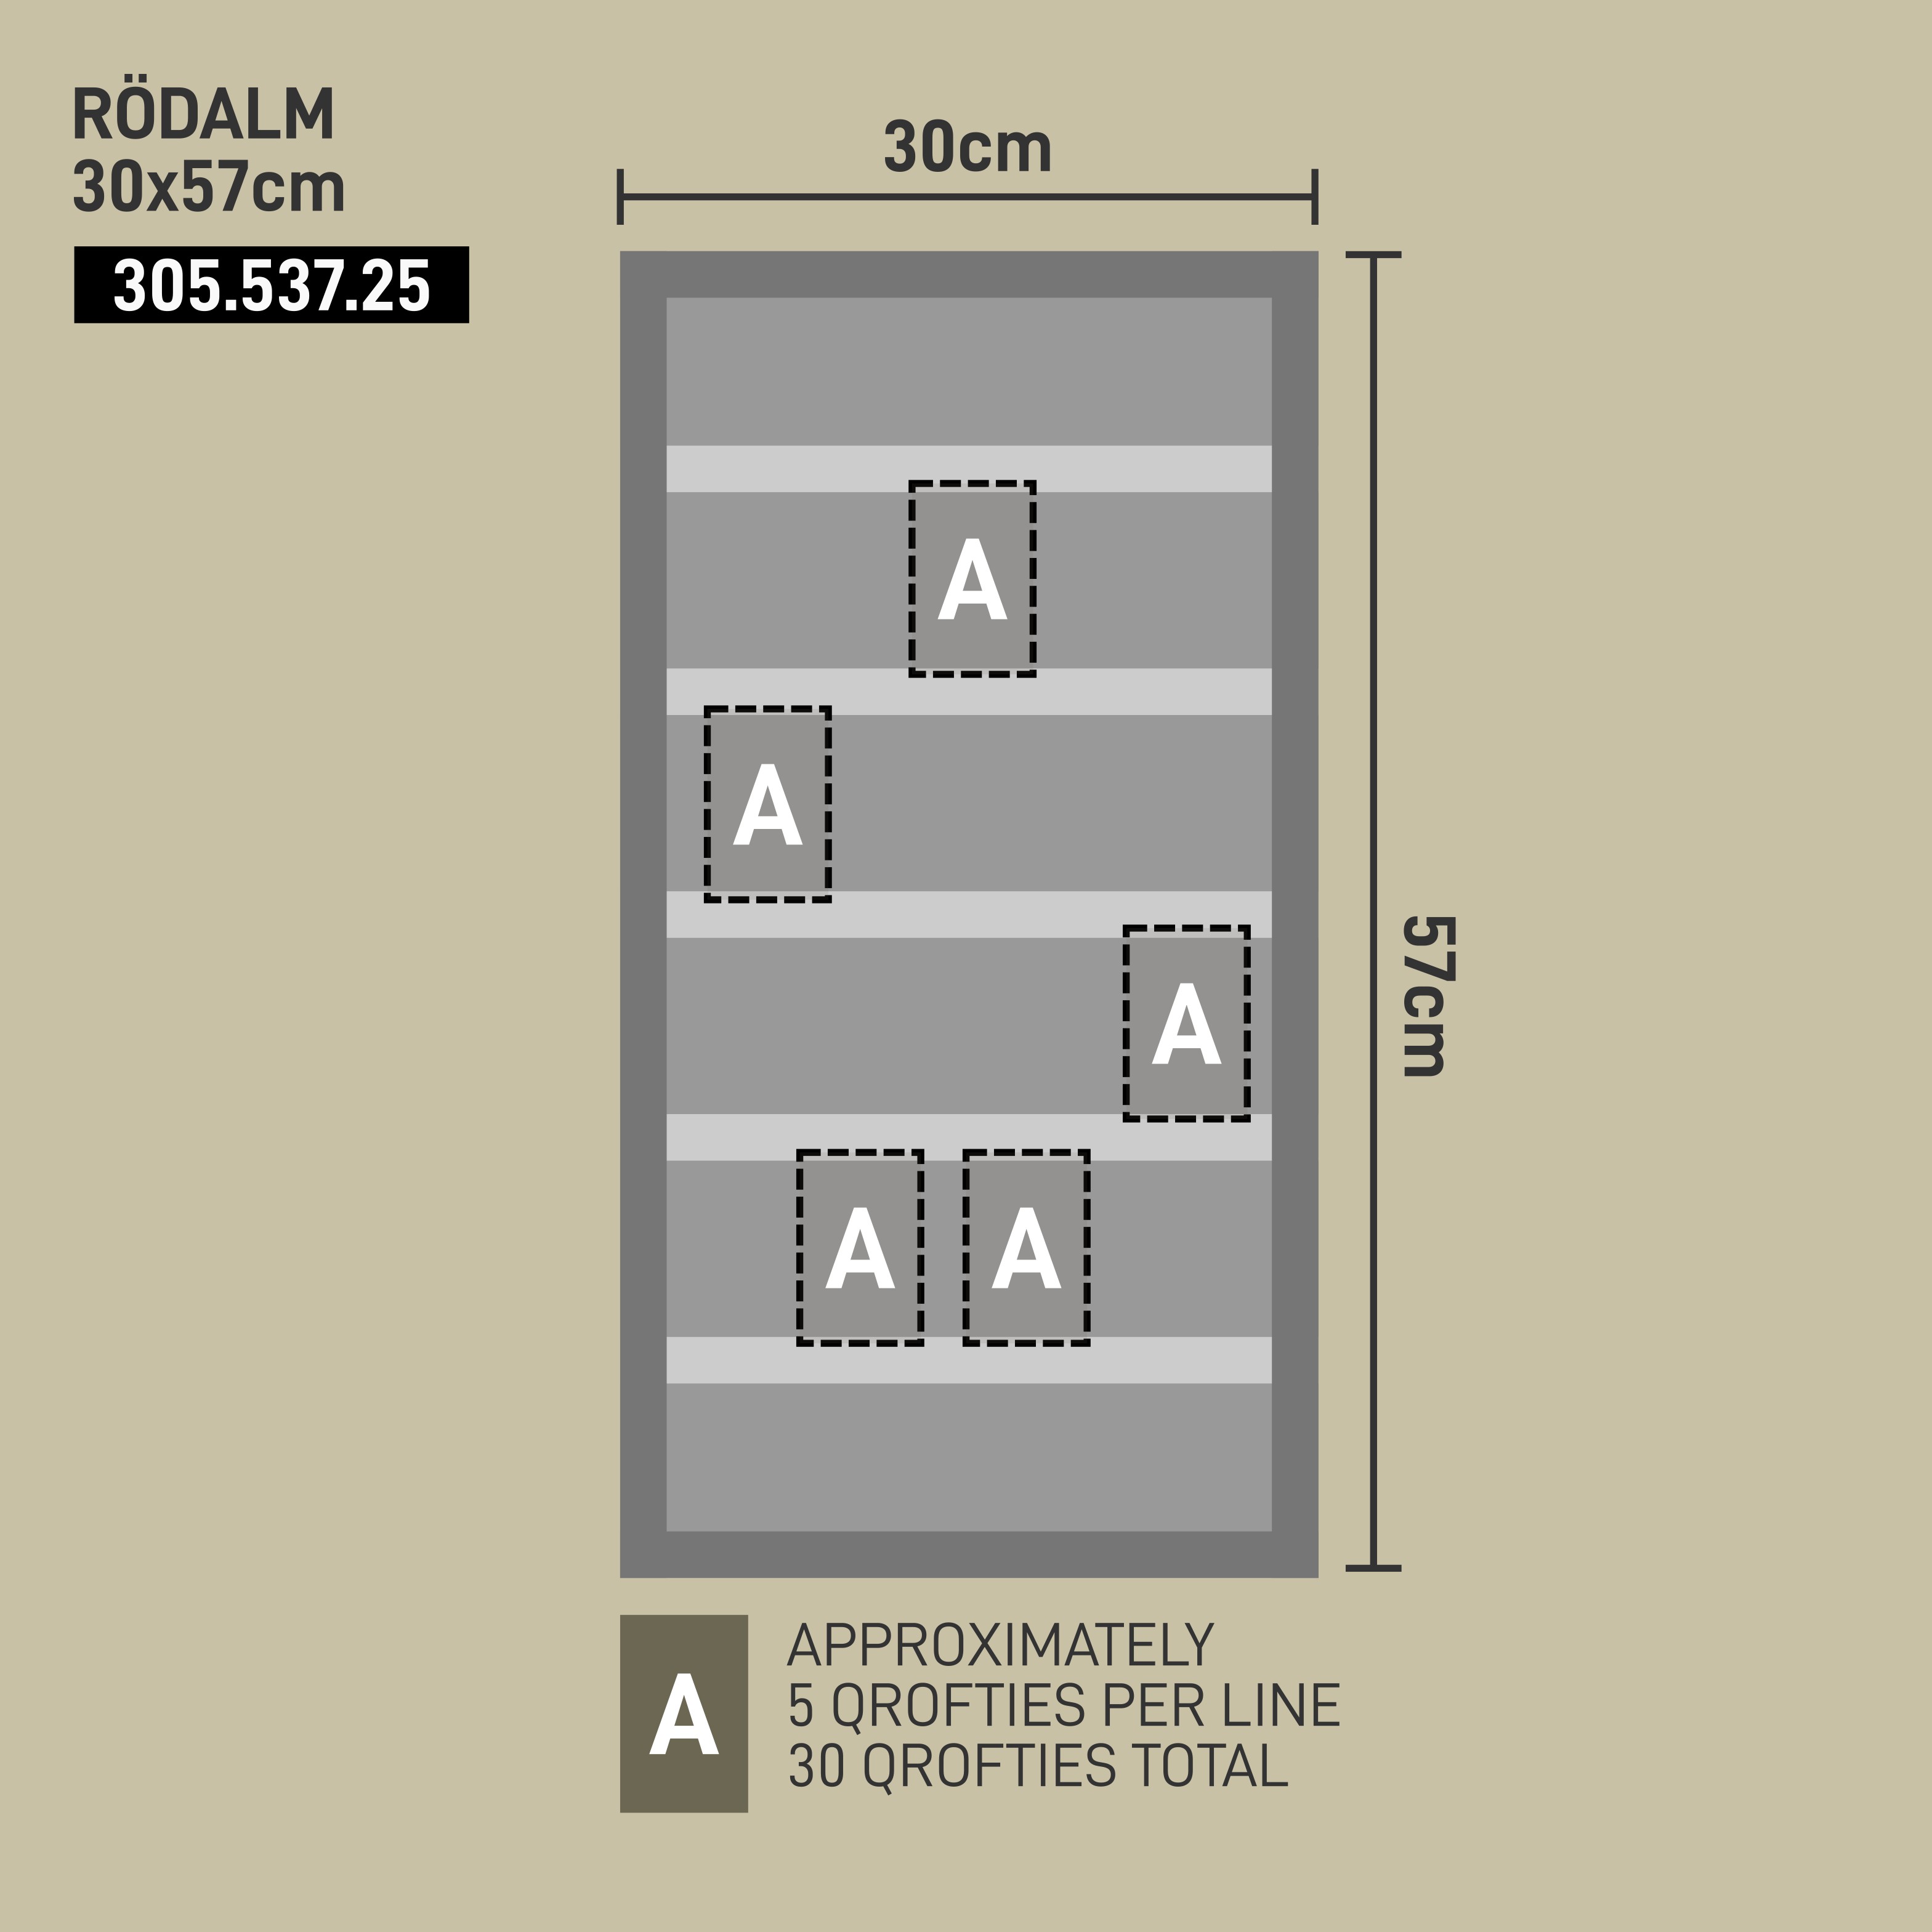
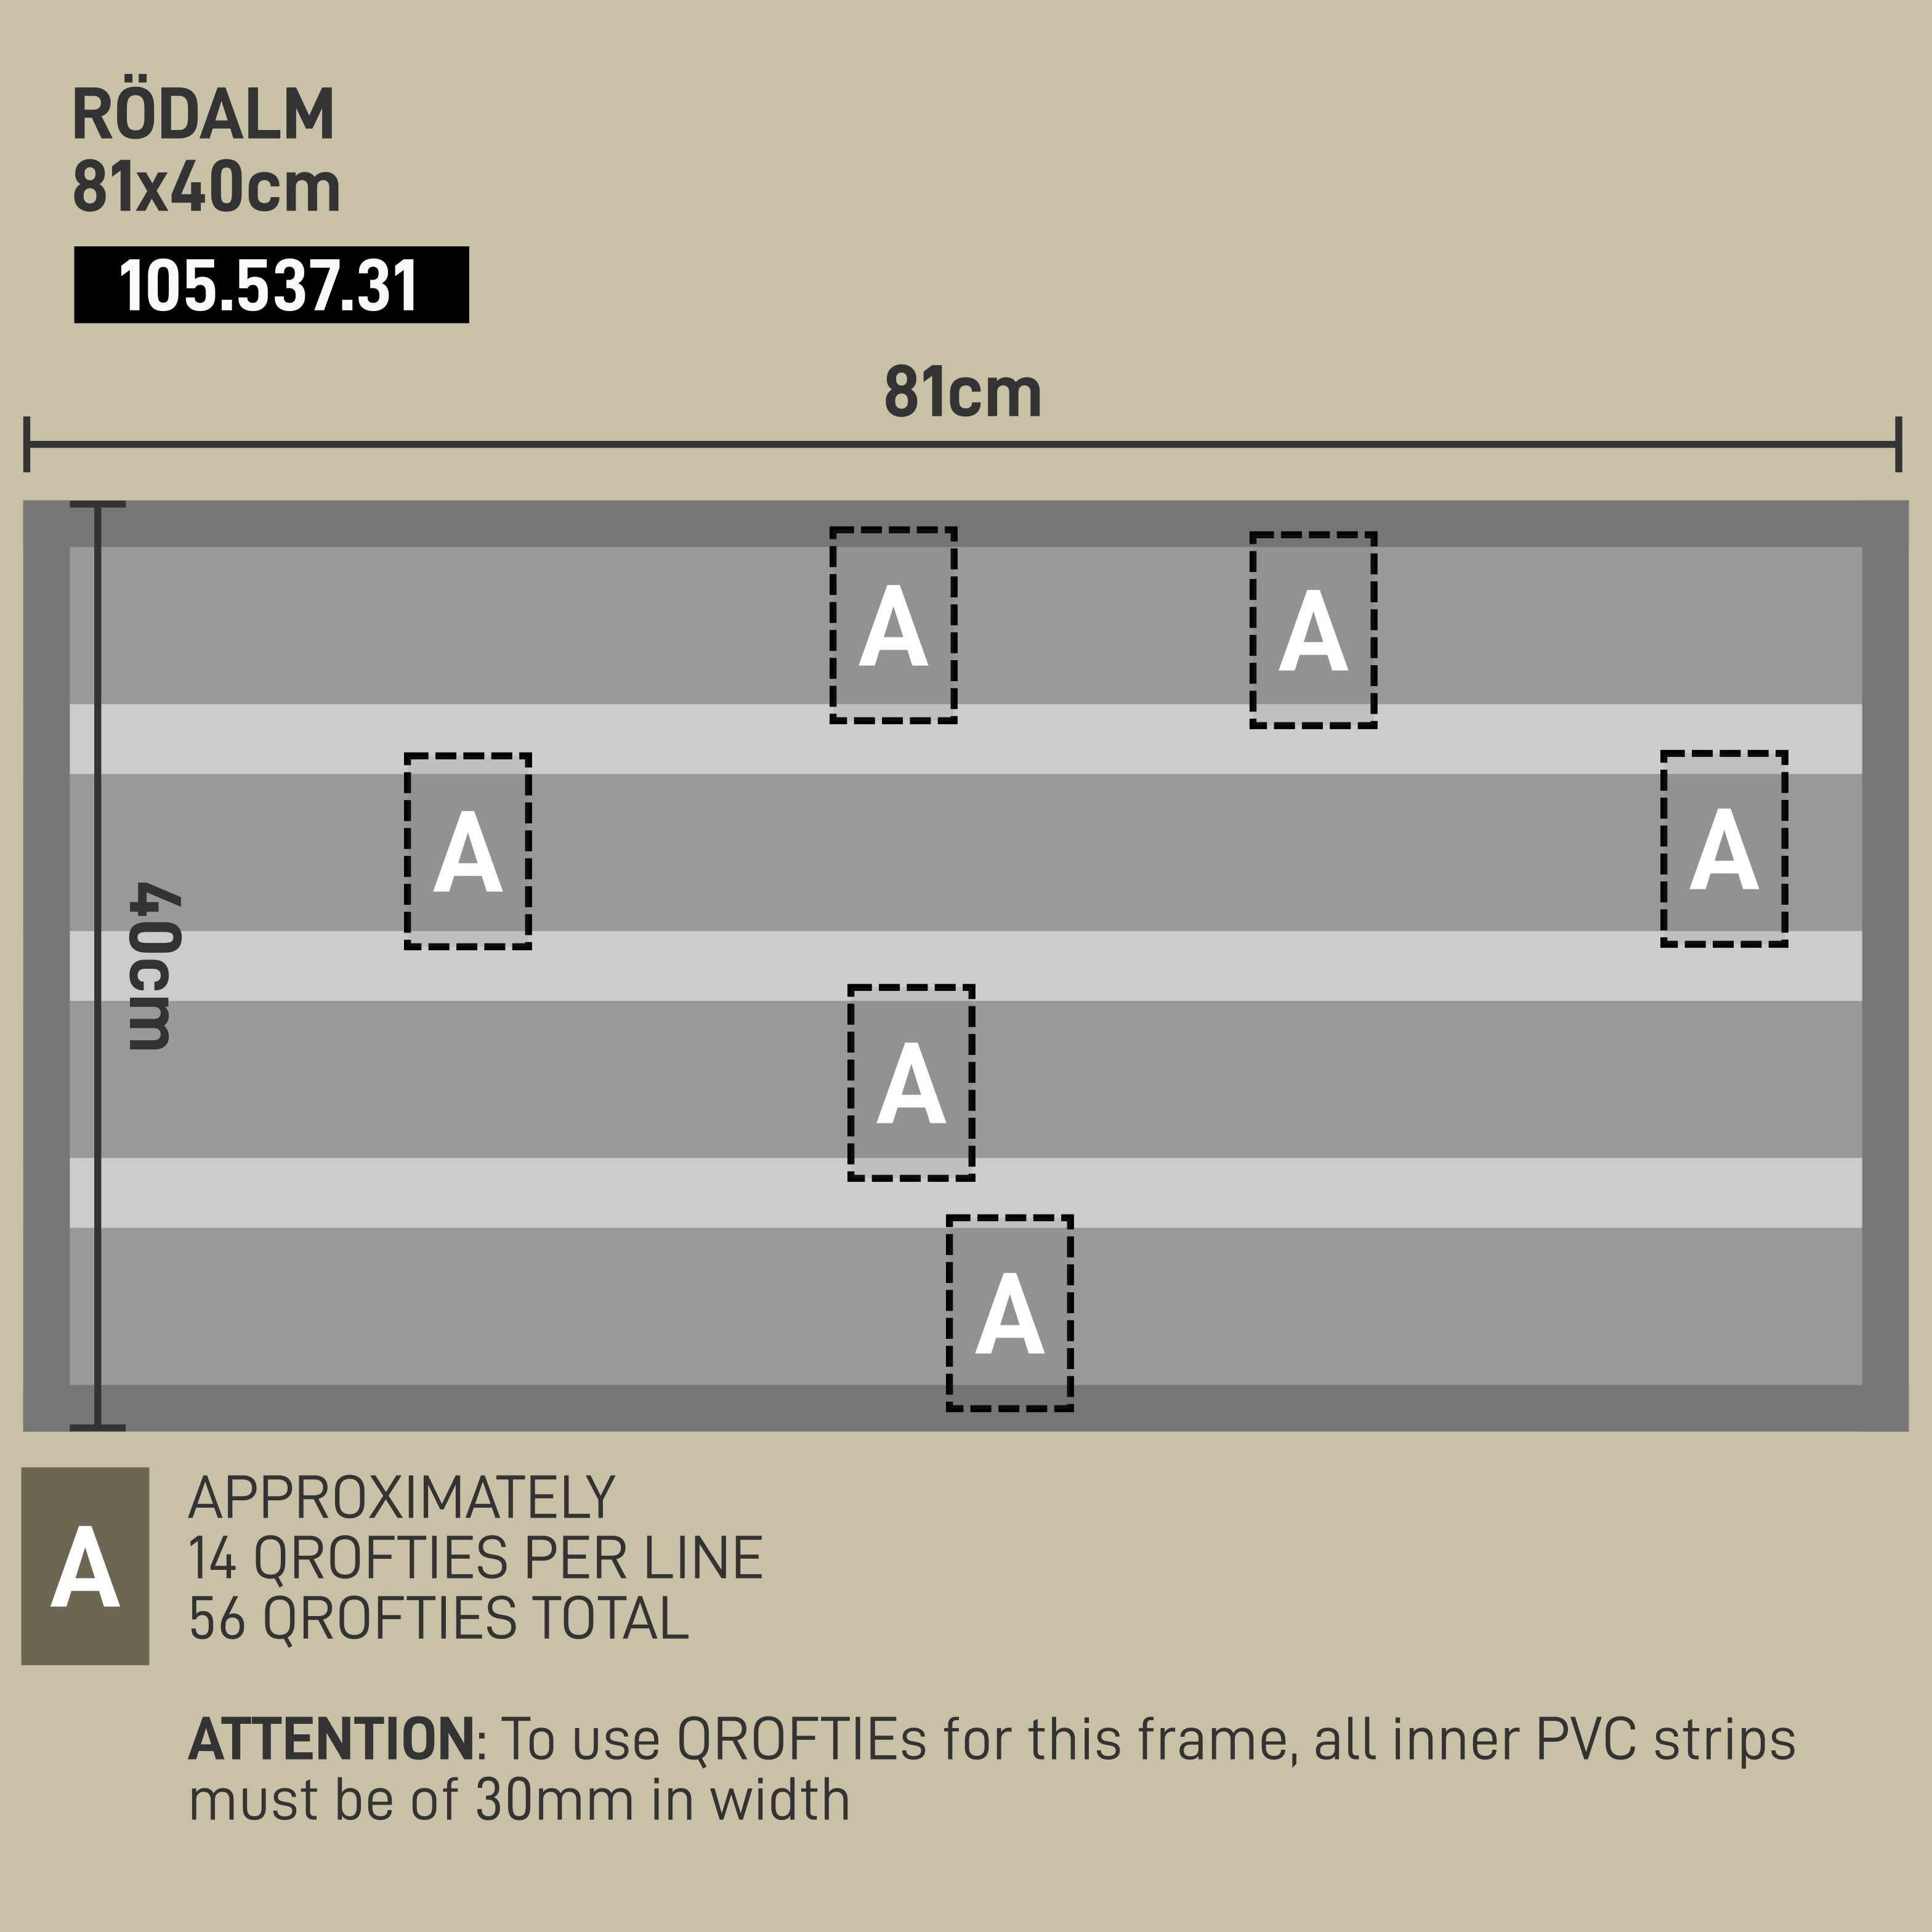
WHY GOOD FOR QROFTIES: With just two short PVC strips to act as line seperators for the cards, this frame allows you to create three lines of content with characters or QROFTIES. Due to the frame depth and modular option offered by IKEA for this frame, it is super easy to integrate a LED strip into the frame.
Lightbox DIY tutorial
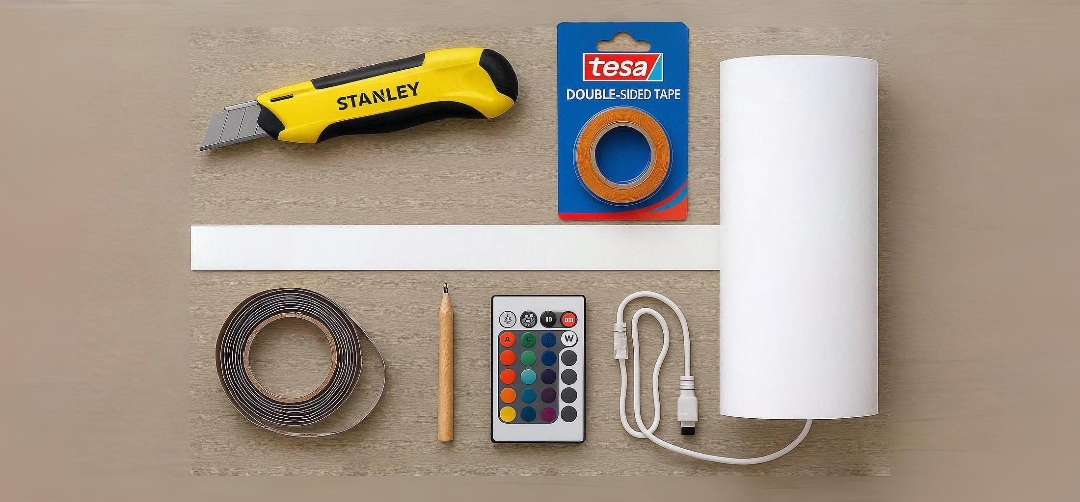
Stuff you need for this
- One IKEA frame
- Double sided TESA FILM tape
- One 2cm wide PVC strip of at least 150cm length
- One cutter or scalpel
- Measurement tape
- One pencil
- White adhesive vinyl paper roll
- One LED strip kit of 150cm in length and 20mm of width.
Instructions
- Unassamble the IKEA frame and throw the paper Passe-partout away as we will not need that. All you keep is the fibreboard frame, the paper foil and the front protection made out of Polystyrene plastic.
- Add the adhesive vinyl paper to the backboard of the frame. As alternative you could paint it with standard white color, but would have to wait until it dries. To work with the vinyl paper is easier, cleaner and needs to time to wait.
- The inner seperator of the RÖDALM frame has a height of 20mm. Keep this in mind when you buy your LED strip or kit. Now stick the LED strip to the inside of the inner frame seperator so that the LED's will shine not from the front, but from the sides down.
- Before continuing, check that all LEDs are working and that the strip is bright enough. We advise you to buy a stronger LED strip with the option of a remote control or to be controled via an APP, as these allow you to dim the lights in case if they are too bright.
- The fibreboard back of the frame has a cut in one corner. Depending on your LED kit, use the cutter to make it bigger, making it an exit point for the LED strip power cable.
- Depending on the power of the LED strip that you use, you can use the adhesive vinyl paper on the frame's plastic front protection to defuse the light. If you need a stronger result, either use a brighter LED strip or another paper material like wallpaper or baking paper and stick it to the plastic front protection.
- Cut the PVC strip into a length that makes it fit into frame
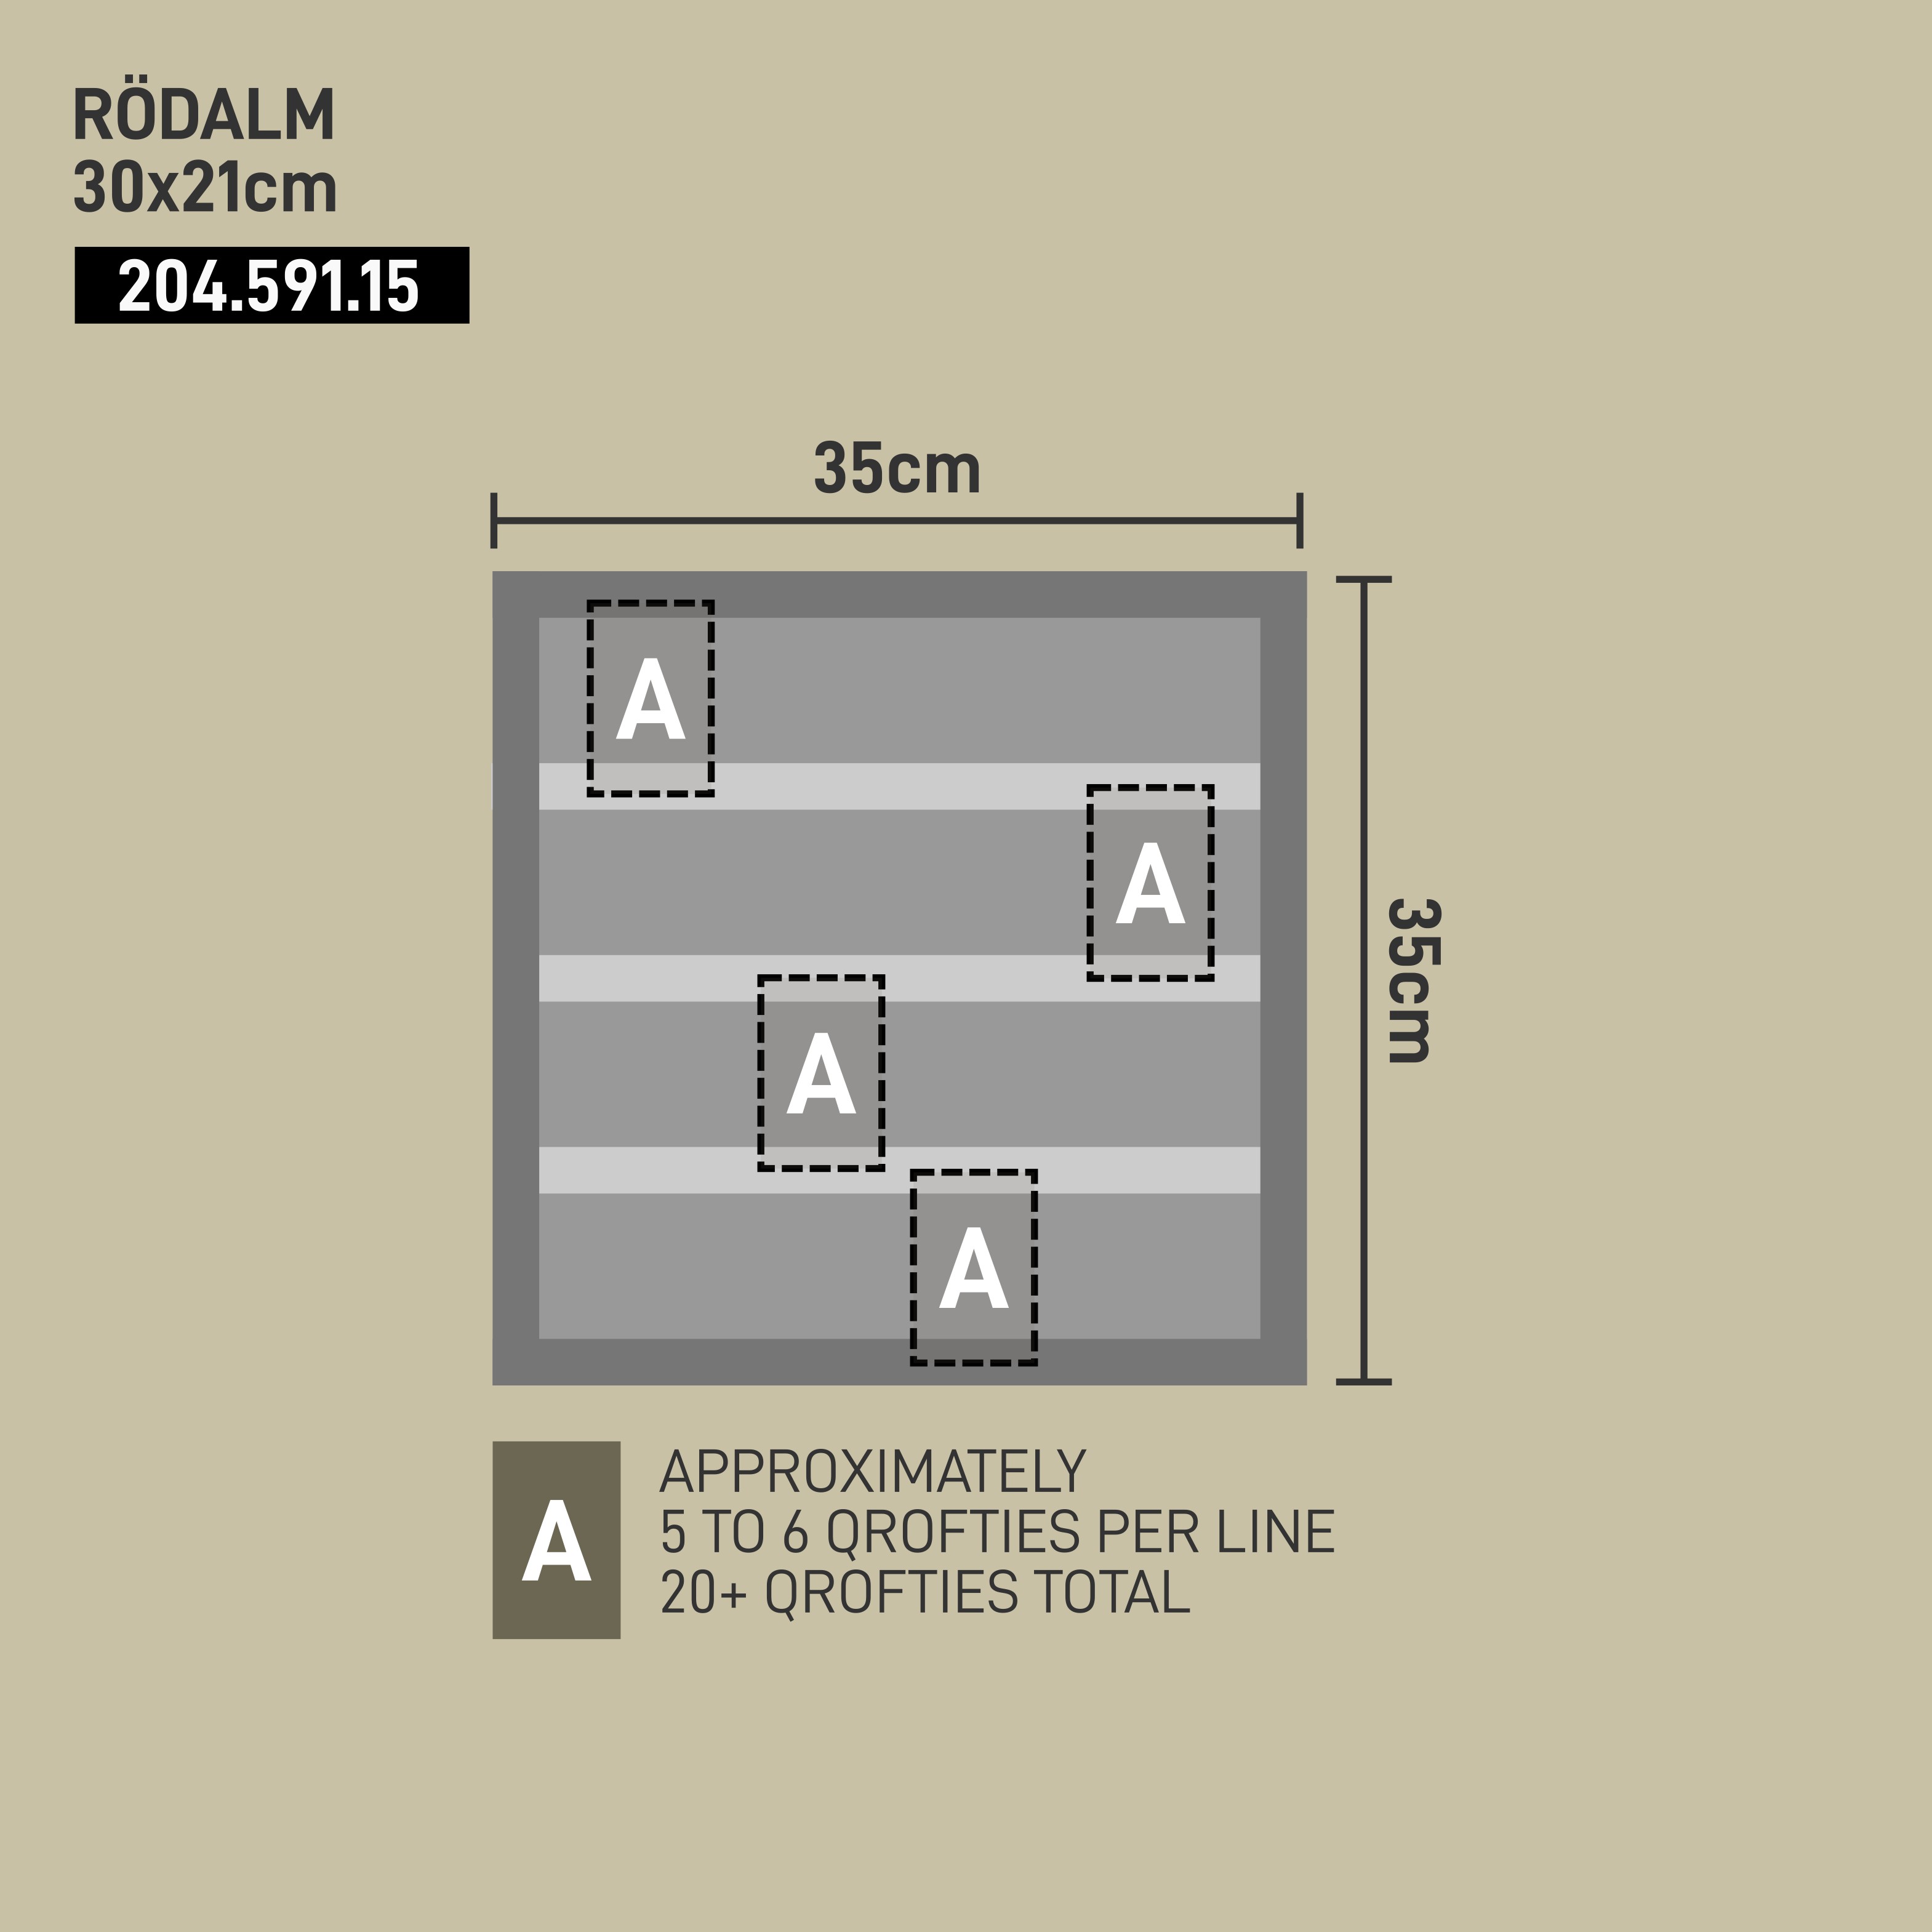
- Measure the correct distance of the cards to the available space of the frame. Put QROFTIES or businesscards on the Polystyrene plastic front protection to find the right seperation spaces.
- Use the doublde sided tape on the PVC strip. Do NOT put the whole width of the doublesided tape on the PVC strip, as you would not be able to use the PVC strip as card pouch anymore. Try to leave 3 to 5mm on both sides, so that the Qrofties can "fall in" or "hang" into it. This way the strips and the frame itself can hold the cards making it easy to be exchanged.
- Assemble the whole frame back and make it shine.